


How to Remove Unused JavaScript and CSS in Blogger to Improve Page Speed and SEO

As a professional blogger, you always need to focus on speeding up the page loading time of every page added to your blog or website. As you know, page loading time is a very important factor in basic on-page SEO that search engines consider to give higher search rankings. In the case of a Blogger blog in particular, I've noticed that the default JavaScript and CSS code is automatically added within your blog's HTML template which may slow down your page's loading time. This is why you need to remove default blogger JavaScript and CSS code from blogger blog.
1- Default JavaScript (.js) and Stylesheet (.css) file types
There are four types of these files. Check out the list of different types of default JavaScript and CSS widget files that are automatically created and added by blogger:
1- Default Blogger CSS code: widget_css_bundle.css
This is the first file that is executed on the browser side once a visitor visits your blog. This file includes all default CSS package files for Blogger template widget stylesheet and all default widgets like related posts, review widget, popular posts, comment section, contact form, etc.
2- Blog ID: authorization.css
It's a small CSS code file that is delivered on every page load and holds your BlogID.
3- JavaScript for widgets: widget.js
This is the most influential file containing JavaScript code of all Blogger default widgets. It is a large file and thus requires more time to fetch and load on the browser side.
4- Google+ script: plusone.js
It's the JavaScript added to every Blogger blog for Google+ tools. Update: Google plus has been closed and thus removed automatically.
We have already discussed website speed optimization techniques and the importance of reducing page loading time and hence we suggest removing unused JavaScript files and unwanted CSS files from your blogger blog as soon as possible.
2- Why should you remove default CSS bundle widgets and Widgets.js from blogger?
Removing default JavaScript (Widgets.js) and CSS from your Blogger blog is the best way to make your blog load fast. But including the advantages, it also has some disadvantages.
Advantages and disadvantages of removing default JS & CSS files from Blogger:
Advantages : The main advantage of deleting the default JavaScript and CSS code files is improved blogger blog loading time which will provide better user experience and faster UI for all your visitors.
Disadvantages : When you remove all types of default JavaScript and CSS widget pack files that are automatically added by blogger, the design of your custom blog is affected, and all default widgets stop working like popular post widget, contact form, visitor count, etc.
Remove default blog scripts and CSS files
Default JavaScript (Widgets.js) & CSS (css_bundle_v2.css) code
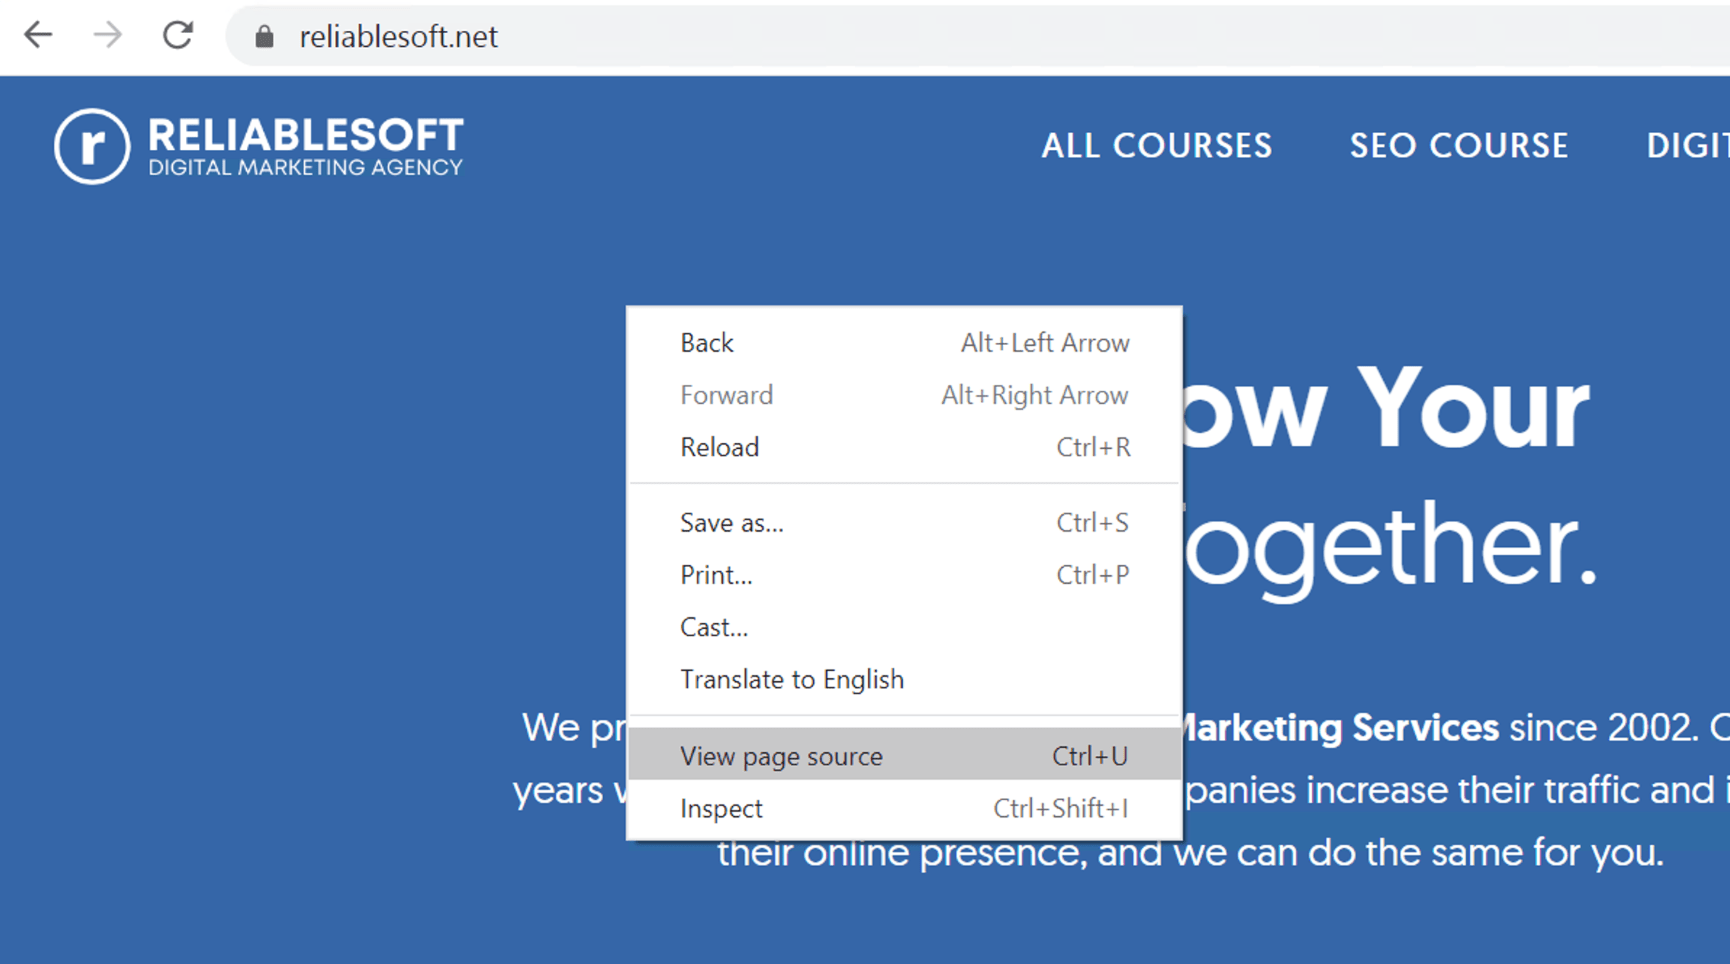
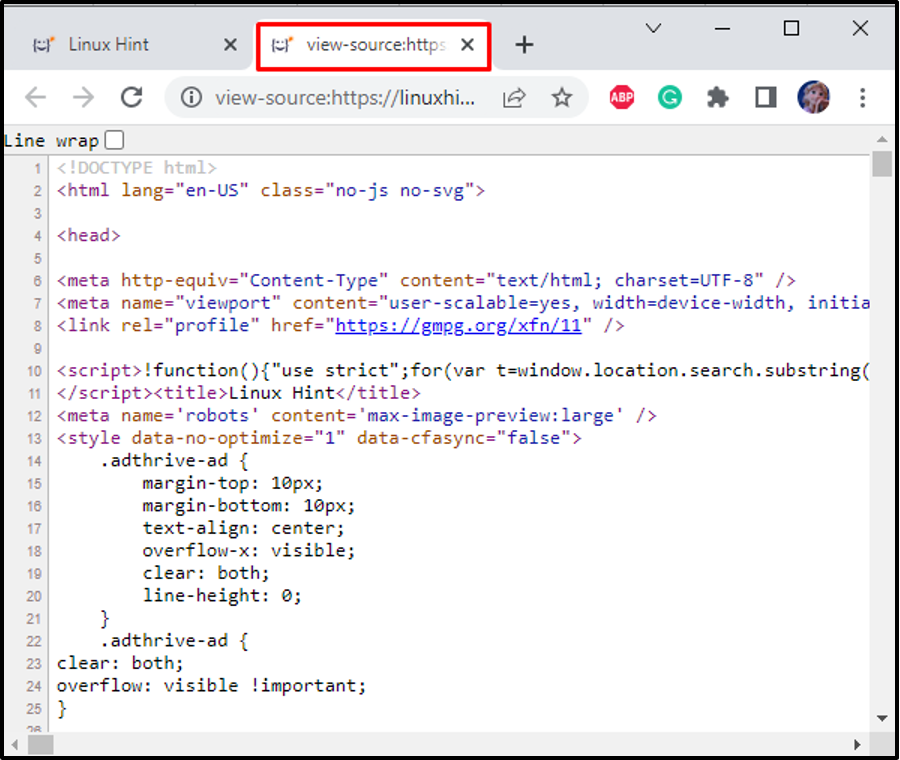
Since it is hidden and added automatically by blogger settings, you can check the file once the page loads. To check the file, open any of your blog pages and open its source code. To open the source code, right-click anywhere on the page and click View page source.
A new page will open to get the code. Search for this code (Widgets.js):
The default JavaScript (Widgets.js) file in the template looks like this:
<script type="text/javascript" src="https://www.blogger.com/static/v1/widgets/2423294629-widgets.js"></script>
While the CSS style file (css_bundle_v2.css) appears in the form:
<link href='https://www.blogger.com/static/v1/widgets/3416767676-css_bundle_v2.css' rel='stylesheet' type='text/css'/>
Remove Default Blogger JavaScript and CSS to speed up page load time
Some basic basic knowledge is required to customize Blogger HTML template code to know how to configure widgets and work according to the theme design.
3- The steps of removing the unused CSS and JavaScript Files
Follow the steps to remove default JavaScript and CSS package files from Blogger template:
Step 1 : Make sure to make a backup copy of your entire Blogger template. (Very important to avoid any error!)
Step 2 : Go to Appearance in your template, then click on the Customize arrow and choose Edit HTML
Step 3 : You will see the following code in the first 3-4 lines:
Step 4 : To remove the default CSS and JS files, you need to add b:css='false' & b:js='false' as shown below:
Step 5 : Now remove the default blogger CSS files, find the following code:
...
All your CSS codes
...
]]></b:skin>
Step 6 : Replace it with the following code:
...
All your CSS codes
...
</style>
Step 7 : Add the following code on top of the code generated in Step 6.
<!-- /*
<b:skin><![CDATA[*/]]></b:skin>
So the entire code looks like this:
<!-- /*
<b:skin><![CDATA[*/]]></b:skin>
<style type='text/css'>
...
All your CSS codes
...
</style>
Step 8 : To remove the authorization.css link of a Blogger blog, find <head> and replace it with the following code:
Step 9 : Now find </head> and replace it with the following code:
Step 10 : Now find <body> and replace it with the following code:
Step 11 : Find </body> and replace it with the following code:
Step 12 : Save the form. And check the speed of your blog
The important thing is that you cannot find the default blogger's CSS & JS tags in the HTML code editor as they are automatically added to your blog whenever the page is loaded in the browser. These default files are hidden in all blogs by default settings provided by BlogSpot server and only appear once the page is fully loaded in the browser.
4- How to remove default CSS and JavaScript from Blogger blog?
That's the question, I will show you how you can easily remove default Javascript (js) and blogger's Cascade Style Sheet (CSS) from your blog pages. These default tags are added by Blogger itself for each page load, to trigger the default JavaScript and CSS bundle widget files. With the help of the following steps, you can now quickly remove the blog's default CSS and js. By removing these unwanted default files "widget_css_bundle.css" (CSS) and "widgets.js" (JS) you will quickly improve your blog's loading speed.
Blogger automatically includes default CSS and JavaScript in your blog to ensure the proper functioning of its features. However, if you want to remove or modify the default styles and scripts, you can do so by editing your blog's HTML code. Keep in mind that making changes to the default code may affect the appearance and functionality of your blog, so proceed with caution.
Here's a general guide on how you can remove default CSS and JavaScript from a Blogger blog:
Removing Default CSS:
1. Access Blogger Dashboard:
- Go to [Blogger](https://www.blogger.com/) and log in to your account.
- Navigate to the dashboard of the blog you want to edit.
2. Access Theme Editor:
- In the left sidebar, click on "Theme."
3. Edit HTML:
- Click on the "Edit HTML" button to access the HTML code of your blog's theme.
4. Locate Default CSS:
- Look for the default CSS code in the HTML. It's usually included in the `<style>` tags or in an external stylesheet link.
5. Remove or Modify CSS:
- Delete or modify the default CSS code as needed.
- Be cautious not to remove any critical styles that might affect the layout or functionality of your blog.
6. Save Changes:
- After making changes, click the "Save theme" button to apply the modifications.
Removing Default JavaScript:
1. Access Theme Editor:
- Follow steps 1-3 from the CSS removal instructions.
2. Locate Default JavaScript:
- Look for the default JavaScript code in the HTML. It may be within `<script>` tags or linked externally.
3. Remove or Modify JavaScript:
- Delete or modify the default JavaScript code.
- Again, be cautious not to remove any critical scripts that might affect the functionality of your blog.
4. Save Changes:
- Click the "Save theme" button to save your changes.
5- Important Considerations Before Remove Unused JavaScript and CSS File
Great question 👌 Before you remove or disable unused JavaScript and CSS files in Blogger (or any website), you need to carefully evaluate a few key considerations, otherwise you may break your blog’s design or functionality.
Here are the most important considerations:
🔑 Key Considerations Before Removing Unused JavaScript and CSS
-
Check if the File is Actually Used
-
Some CSS/JS files may look unused on one page but are used on another (e.g., homepage vs. post page vs. mobile view).
-
Example: comments.css might not appear on the homepage but is required on post pages.
-
Impact on Critical Features
-
Removing files tied to comments, navigation menus, or post styling may break your blog’s basic functionality.
-
Always ask: Does this file control something essential for readers?
-
Theme Dependency
-
Many Blogger templates are heavily dependent on widget.js and default styles.
-
If you’re using a custom template, you may replace them safely with your own lightweight CSS/JS.
-
Page Speed vs. Usability
-
While removing files can improve Core Web Vitals, don’t sacrifice user experience.
-
Example: Fast but broken layout = bad SEO.
-
Mobile Responsiveness
-
Files like mobile.css or responsive grid scripts are vital for mobile rendering.
-
Removing them may break mobile design and hurt rankings (Google prioritizes mobile-first indexing).
-
Third-Party Integrations
-
AdSense (adsbygoogle.js), Analytics, or social share buttons may depend on these scripts.
-
If removed, you may lose ads revenue or tracking data.
-
Testing Across Pages
-
Always test changes on all page types:
-
Homepage
-
Single Post
-
Label/Category pages
-
Mobile view
-
Some scripts load conditionally depending on the page type.
-
Safe Methods (Defer/Async instead of Remove)
-
Instead of completely deleting, you can:
-
Defer loading (after page content loads).
-
Async load (parallel execution).
-
Move to the footer (</body>) so above-the-fold loads faster.
-
Backup Before Changes
-
Always download your theme backup before editing.
-
One wrong removal can break your site; restoring a backup saves hours of fixing.
-
Use Tools to Verify
-
Run your blog through tools like:
-
Google PageSpeed Insights
-
Lighthouse (Chrome DevTools)
-
GTmetrix
-
These show which files are unused or blocking render.
✅ Rule of Thumb:
If a file is directly tied to core functionality (posts, comments, navigation, mobile design) → don’t remove.
If it’s for widgets, feeds, old scripts, or unused fonts → safe to remove or defer.
Check if the File is Actually Used
-
Some CSS/JS files may look unused on one page but are used on another (e.g., homepage vs. post page vs. mobile view).
-
Example:
comments.cssmight not appear on the homepage but is required on post pages.
Impact on Critical Features
-
Removing files tied to comments, navigation menus, or post styling may break your blog’s basic functionality.
-
Always ask: Does this file control something essential for readers?
Theme Dependency
-
Many Blogger templates are heavily dependent on
widget.jsand default styles. -
If you’re using a custom template, you may replace them safely with your own lightweight CSS/JS.
Page Speed vs. Usability
-
While removing files can improve Core Web Vitals, don’t sacrifice user experience.
-
Example: Fast but broken layout = bad SEO.
Mobile Responsiveness
-
Files like
mobile.cssor responsive grid scripts are vital for mobile rendering. -
Removing them may break mobile design and hurt rankings (Google prioritizes mobile-first indexing).
Third-Party Integrations
-
AdSense (
adsbygoogle.js), Analytics, or social share buttons may depend on these scripts. -
If removed, you may lose ads revenue or tracking data.
Testing Across Pages
-
Always test changes on all page types:
-
Homepage
-
Single Post
-
Label/Category pages
-
Mobile view
-
-
Some scripts load conditionally depending on the page type.
Safe Methods (Defer/Async instead of Remove)
-
Instead of completely deleting, you can:
-
Defer loading (after page content loads).
-
Async load (parallel execution).
-
Move to the footer (
</body>) so above-the-fold loads faster.
-
Backup Before Changes
-
Always download your theme backup before editing.
-
One wrong removal can break your site; restoring a backup saves hours of fixing.
Use Tools to Verify
-
Run your blog through tools like:
-
Google PageSpeed Insights
-
Lighthouse (Chrome DevTools)
-
GTmetrix
-
-
These show which files are unused or blocking render.
If a file is directly tied to core functionality (posts, comments, navigation, mobile design) → don’t remove.
If it’s for widgets, feeds, old scripts, or unused fonts → safe to remove or defer.
6- How to speed up blog loading
To speed up blog loading, you should remove blogger's default javascript & CSS code which is automatically added in the HTML source code of your blog template between and before the tag. You have requested to remove a couple of links and script tags in the source code like "b:template" and "b:skin" in case it is not compatible with CSS of blogger CSS package license as well as static widgets. Also make sure to remove the "plusone.js" encoded javascript as it is the biggest reason for slowing down your blog and causing more time to load your website.
Note: This method is only recommended for bloggers who are not using the default tools provided by the blogger. By disabling the default icons, the default stylesheet CSS and other native scripts of the blogger will stop working and you will no longer be able to use any of the default UI elements.
Blogger's default stylesheet CSS and JavaScript Widgets package is the biggest reason that affects your blog page loading speed and results in increased page loading time. Also, Blogger has no way to disable default JavaScript & CSS, so completely removing default CSS & JS from Blogspot blogger blog is the only option to speed up your blog's loading time.
7- Best Methods & Tricks to Improve Page Loading Time 🚀
1. Optimize Images
-
Why? Images are usually the heaviest elements on a page.
-
How:
-
Use compressed formats like WebP or AVIF instead of JPEG/PNG.
-
Resize images before uploading (don’t upload 2000px width if you only need 600px).
-
Use tools: TinyPNG, Squoosh, or plugins (ShortPixel, Imagify).
-
Enable lazy loading so images load only when the visitor scrolls down.
-
-
Code Example (lazy load in Blogger):
2. Minify and Combine CSS & JS
-
Why? Every file request adds loading time.
-
How:
-
Remove spaces, comments, and unnecessary code using tools like Minify Code, UglifyJS, or Terser.
-
Combine multiple CSS files into one, and JS into one (when possible).
-
In Blogger, paste custom CSS inside
<style>tags in the theme, instead of linking multiple external files.
-
3. Defer or Async JavaScript
-
Why? JavaScript blocks rendering until it finishes loading.
-
How:
-
Use
deferto load JS after HTML parsing. -
Use
asyncfor independent scripts that don’t affect page rendering.
-
-
Example:
4. Remove Unused CSS/JS
-
Why? Blogger and WordPress load lots of default files (widgets, comments, etc.) that you may not use.
-
How:
-
Identify unused files with Google PageSpeed Insights or Lighthouse.
-
Disable widgets or external scripts you don’t need.
-
Move custom styling into one stylesheet.
-
5. Use a Fast and Lightweight Theme
-
Why? Heavy themes with animations, sliders, and large CSS files slow down performance.
-
How:
-
Choose a minimal, responsive, mobile-first theme.
-
Avoid templates packed with unused widgets/plugins.
-
6. Enable Browser Caching
-
Why? Saves static files in the user’s browser so repeat visits load faster.
-
How:
-
On custom domains (via hosting), configure caching in
.htaccessor server settings. -
In Blogger, caching is limited, but you can host assets (CSS/JS/images) on Google Drive, Cloudflare, or GitHub for better control.
-
7. Use a Content Delivery Network (CDN)
-
Why? CDN delivers your content from servers nearest to the visitor, reducing latency.
-
Best Free CDNs:
-
Cloudflare (also gives free SSL + security).
-
jsDelivr (for hosting JS libraries).
-
8. Lazy Load Videos and Iframes
-
Why? Embedded YouTube or iframes load slowly.
-
How:
-
Replace YouTube iframes with a thumbnail image that loads the video only when clicked.
-
-
Code Example:
9. Reduce HTTP Requests
-
Why? Each CSS, JS, font, and image request increases load time.
-
How:
-
Avoid too many external libraries (like multiple font families, sliders, etc.).
-
Use system fonts instead of Google Fonts if possible.
-
10. Optimize Fonts
-
Why? Google Fonts can add multiple requests and block rendering.
-
How:
-
Limit to 1–2 font families.
-
Use font-display: swap so text shows immediately while fonts load.
-
-
Example:
11. Enable GZIP or Brotli Compression (For custom domains/servers)
-
Why? Compresses HTML, CSS, and JS before sending them to the browser.
-
How:
-
Add to
.htaccess:
-
12. Monitor & Test Regularly
-
Use tools like:
-
Google PageSpeed Insights
-
GTmetrix
-
Pingdom Tools
-
-
Test on desktop + mobile to ensure consistent performance.
✅ Summary
To speed up your site:
-
Compress images (use WebP + lazy load).
-
Minify/combine CSS & JS.
-
Defer/async JavaScript.
-
Remove unused CSS/JS.
-
Use a lightweight theme.
-
Enable caching & CDN.
-
Optimize fonts.
-
Reduce HTTP requests.


No comments: